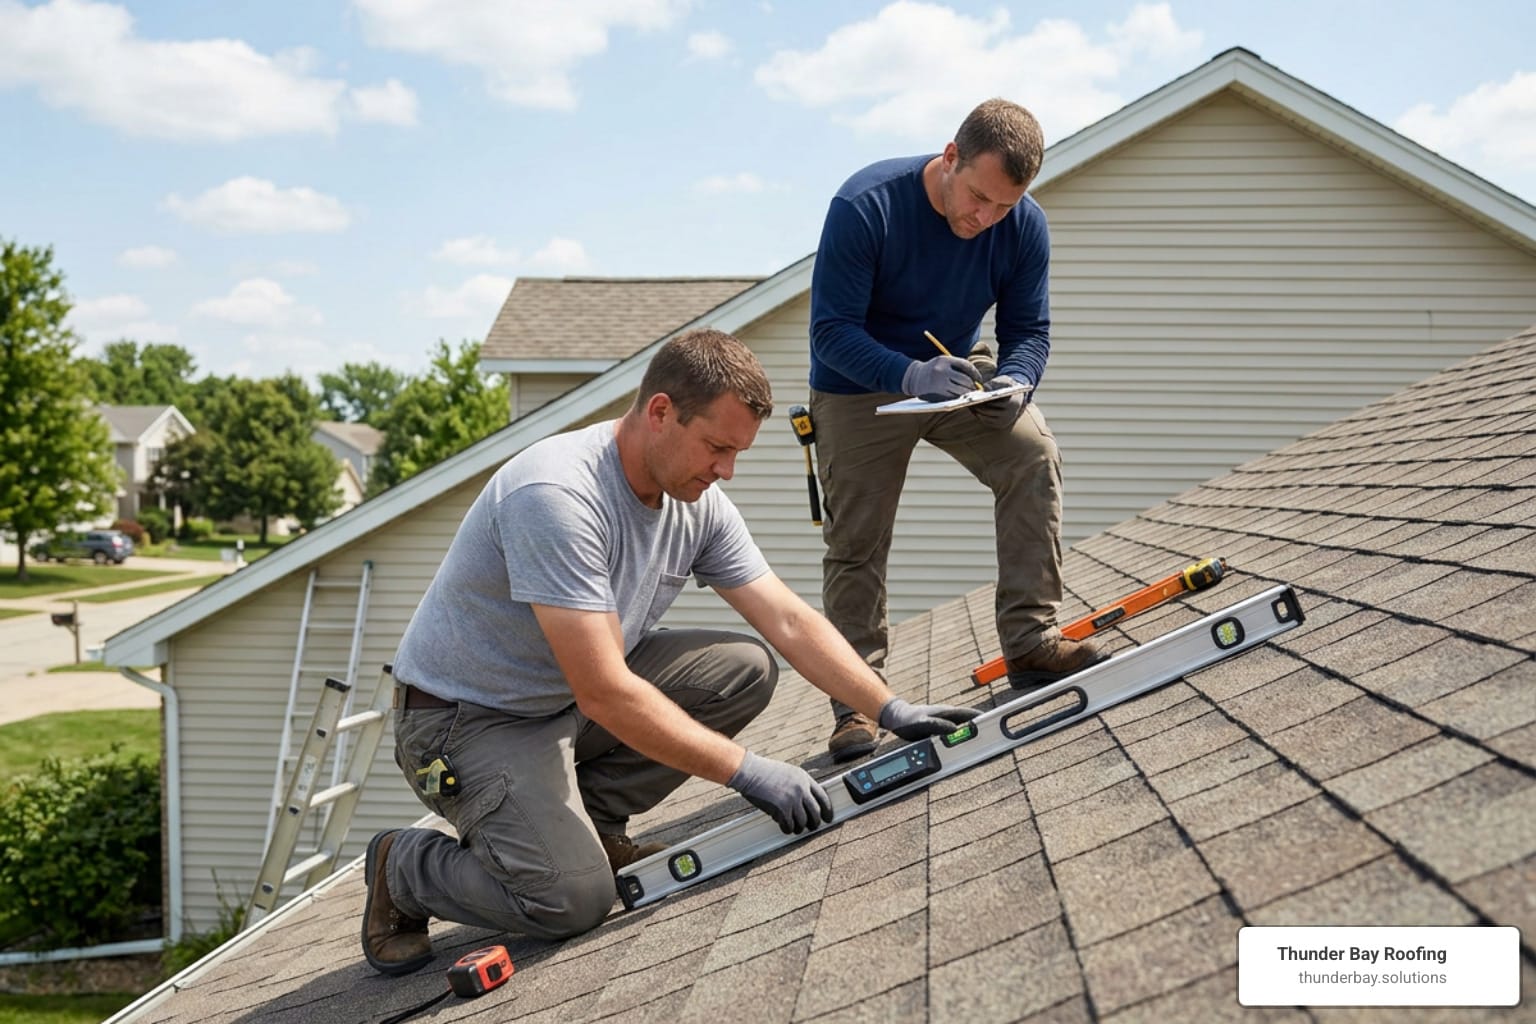

Minor Roof Leak Repair for the Weekend Warrior
A Small Drip Can Become a Big Disaster: What You Need to Know About Minor Roof Leak Repair
Minor roof leak repair is something every Florida homeowner will face at some point — and acting fast is the difference between a $200 fix and a $5,000 nightmare. When water breaches your shingles, securing professional assistance from a trusted Tampa Bay roofing contractor can prevent extensive structural damage.
Here is a quick overview of how to handle a small roof leak:
- Find the source — Check your attic for water trails, then inspect the roof exterior for damaged shingles, cracked pipe boots, or failing flashing.
- Protect your interior — Place buckets under drips and move valuables away from the wet area.
- Apply a temporary fix — Use a tarp or rubberized roofing cement to stop water entry until a permanent repair is made.
- Make the permanent repair — Replace damaged shingles, reseal or replace vent boots, and rebed loose flashing.
- Monitor and maintain — Inspect twice a year and after every major storm.
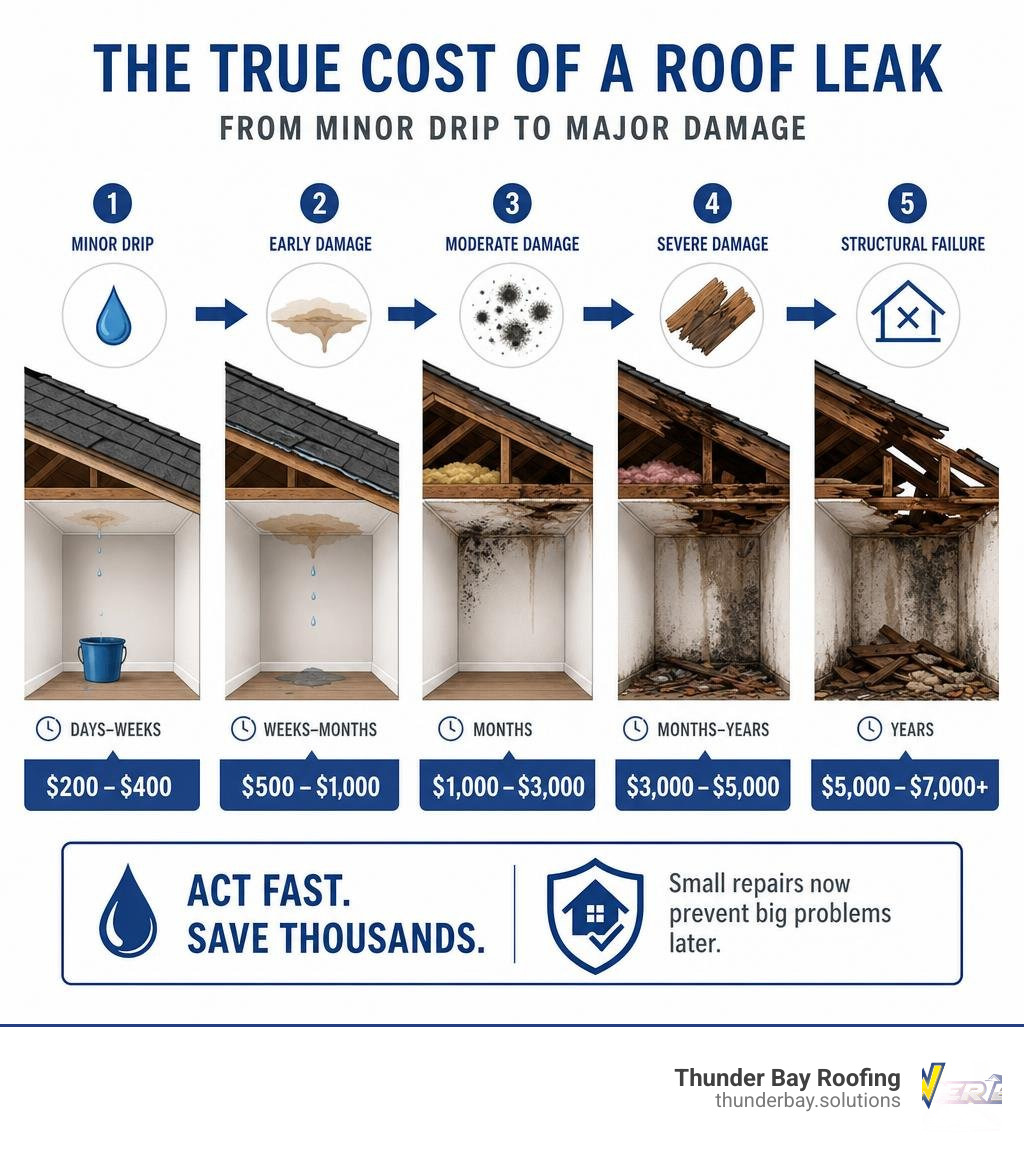
Roof leaks account for 30% of all home insurance claims related to water damage. Minor repairs typically cost $200 to $400 — but ignored leaks can escalate to $1,000 to $7,000 or more once structural damage, mold, or insulation failure sets in. The team at Thunder Bay Home Solutions sees this pattern repeatedly across Wesley Chapel and the greater Tampa Bay area.
Water is patient. A leak that starts as a damp ceiling spot after a Florida rainstorm can quietly rot your roof deck, feed mold colonies, and damage your insulation — all before you notice anything new from the ground.
I’m Tyler Wood, owner of Thunder Bay Home Solutions in Wesley Chapel, Florida, where I lead a veteran-owned roofing team focused on code-compliant repairs built for Florida’s extreme UV exposure, heavy rain, and hurricane-force winds — exactly the conditions that turn a minor roof leak repair into a major structural problem if left unaddressed. This guide walks you through everything I’ve learned doing this work in the Tampa Bay market.
Minor roof leak repair terms you need:
How to Safely Locate a Roof Leak
Before you can execute a minor roof leak repair, you have to find where the water is actually getting in. This is often harder than it sounds. Water rarely travels in a straight line; it enters through a breach in your shingles or flashing, runs down the slope of your roof deck, drips onto your ceiling insulation, and finally pools on your drywall. Where you see the stain is often feet away from the actual leak.

The Interior Inspection: Tracking the Water Trail
The safest way to find a leak is to stay off the roof entirely and start in your attic. Grab a high-powered flashlight, a tape measure, and your safety gear.
- Gear Up for Safety: Put on an N95 dust mask, long sleeves, safety glasses, and knee pads.
- Walk Only on Joists: Never step on the drywall ceiling or the insulation between the joists. One wrong step and you will end up in your living room—which is a much bigger project than a minor roof repair.
- Trace the Moisture Uphill: Look for water stains, damp insulation, or dark mold spots on the underside of the roof deck. Always follow the water trail “uphill” to its highest damp point.
- The Daylight Test: Turn off your flashlight and look up. If you see pinpricks of daylight showing through the decking, you have found an active puncture or a backed-out roofing nail.
- Follow Your Nose: Sometimes, musty odors in a specific attic corner are the only indicator of a slow, seasonal leak that has not yet stained your ceiling.
The Exterior Inspection: Safe Ground-Level Spotting
If the attic does not yield answers, it is time to step outside. However, we always recommend keeping your feet on the ground first.
- Use Binoculars: Stand back from your house and use binoculars to inspect the roof surface. Look for missing, curling, or cracked shingles.
- Inspect the Penetrations: Focus on the most common failure points. This includes plastic or metal pipe boots, step flashing along dormers, chimney flashing, and roof valleys where water flows in high volumes.
- Look at the Gutters: Check if clogged gutters are backing up water under the starter shingles along the roof edge.
If you are dealing with a tricky, hard-to-find leak, our professional roof leak detection services use advanced thermal imaging to pinpoint moisture without destructive testing.
The Garden Hose Test: The Two-Person Method
If you still cannot locate the source, you can perform a systematic water test. You will need a helper for this.
- One person goes into the attic with a flashlight and a phone.
- The other person climbs a ladder and uses a garden hose to spray the roof.
- Start low: Begin soaking the roof just above the visible interior leak area. Do not spray high up first, or the water will run down and mask the exact entry point.
- Mimic heavy rain: Let the hose run on a low pressure over a localized area for 5 to 10 minutes before moving up the slope.
- Once the person in the attic spots a drip, mark the spot immediately.
For a deeper dive into locating and diagnosing tricky leaks, check out Home Depot’s guide on finding leaks to understand how water behaves on different slopes.
Step-by-Step Guide to Minor Roof Leak Repair
Once you have identified the source, it is time to decide on a course of action. The table below outlines how to distinguish between a temporary patch and a permanent fix.
| Leak Source | Temporary Fix (Emergency Stopgap) | Permanent Repair (Weekend Warrior) |
|---|---|---|
| Damaged Shingle | Tar patch / Waterproof flashing tape | Replace the entire shingle and apply fresh roofing cement |
| Cracked Pipe Boot | Rubberized wet patch sealant | Install a new rubber collar or replace the entire boot |
| Loose Step Flashing | Polyurethane sealant over the gap | Rebed the flashing and secure with roofing nails |
| Chimney Flashing Gap | Roofing cement / Temporary tarp | Re-flash with new metal step and counter-flashing |
Essential Tools and Materials for Minor Roof Leak Repair
Do not start your repair until you have gathered the right materials. Using household silicone or expanding foam will only trap moisture and make a future permanent repair much more difficult.
- Henry 208R Rubberized Wet Patch: This is the gold standard for emergency repairs. It has a 4.5 out of 5 customer rating based on over 2,100 reviews because it can be applied in standing water or active rain.
- The 3-Course Patch Method: For any puncture or crack repair, use a layer of roofing cement, embed a piece of glass fabric mesh, and apply a second layer of cement over the top. This creates a reinforced waterproof barrier.
- Hand Tools: A sturdy pry bar (for pulling nails), a utility knife, a hammer, and 1-1/4 inch galvanized roofing nails.
- Polyurethane Sealant: Best for sealing metal-to-metal or metal-to-masonry joints. It holds up to the Florida heat far better than standard silicone.
If you are working with standard asphalt shingles, review our simple shingle repair tips to avoid damaging surrounding materials during your work.
Safety Precautions During Minor Roof Leak Repair
No DIY repair is worth a trip to the emergency room. Roof work is inherently dangerous, and physical safety must be your absolute priority.
- Check the Weather: Never work on a wet, damp, or mossy roof. Wait for a dry, clear day in June 2026 to ensure maximum traction and proper sealant adhesion.
- Ladder Safety: Set your ladder on level ground using a 4-to-1 ratio (1 foot away from the wall for every 4 feet of height). Always maintain three points of contact (two hands and one foot, or two feet and one hand) when climbing.
- Use a Spotter: Never work on a roof alone. Have a helper on the ground to secure the ladder and call for help if needed.
- Avoid Steep Slopes: If your roof has a steep pitch (greater than a 6:12 slope), do not attempt a DIY repair. Call us for a professional assessment.
- Emergency Tarping: If a storm is rolling in and you cannot make a permanent fix, rely on safe emergency tarping to protect your home until the weather clears.
How to Patch Shingles, Vent Boots, and Flashing
Let’s walk through the three most common weekend warrior repairs.
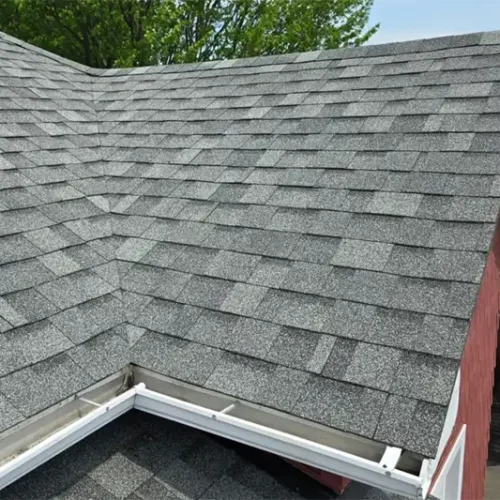
1. Replacing a Damaged Shingle
If a shingle is cracked, torn, or missing entirely, you need to replace it.
- Pry up the damaged shingle: Slide your flat pry bar under the shingle directly above the damaged one to break the sealant strip.
- Remove the nails: Slide the pry bar under the damaged shingle, locate the nails holding it in place, and gently pry them up. You will need to remove the nails from the shingle above it as well, as they often penetrate both layers.
- Slide in the new shingle: Remove the old shingle, slide a matching new shingle into place, and secure it with four new galvanized roofing nails.
- Seal the tabs: Apply a dime-sized dab of roofing cement under each tab of the new shingle and press down firmly.
For a complete breakdown of this process, see our guide on missing shingle replacement.
2. Fixing a Cracked Plumbing Vent Boot
Rubber gaskets on plumbing vent boots degrade rapidly under the intense Florida sun.
- Inspect the boot: If the rubber collar is cracked but the metal base is in good shape, you can install a split-boot repair collar directly over the old one.
- Apply sealant: Apply a generous bead of polyurethane sealant around the base of the pipe.
- Install the collar: Slide the new rubber collar down the pipe until it sits flush against the old flange, securing it with washer-head roofing screws.
3. Repairing Step Flashing
Flashing along walls and chimneys can pull away over time.
- Clean the area: Scrape away old, dried caulk or debris.
- Re-secure the metal: Push the flashing back against the wall. Secure it with a galvanized nail if necessary, making sure to cover the nail head with roofing cement.
- Seal the joint: Apply a thick bead of polyurethane sealant along the top edge of the flashing where it meets the siding or masonry.
If you want to compare your technique with other trusted industry methods, take a look at Fresh A Home’s DIY roof repair guide for alternative step-by-step visual aids.
The Hidden Risks of Ignoring Small Roof Leaks
It is tempting to ignore a tiny water stain on your ceiling, especially if it only drips during tropical storms. However, ignoring a minor leak is one of the costliest mistakes a homeowner can make.
- Structural Wood Rot: Constant moisture will rot your plywood roof deck and rafters. Once the wood softens, the structural integrity of your roof is compromised.
- Ceiling Collapse: Drywall absorbs water like a sponge. Eventually, it becomes too heavy to support its own weight and can collapse without warning, ruining your furniture and flooring.
- Mold and Mildew Hazards: Florida’s warm, humid attic spaces are perfect breeding grounds for toxic black mold. Once mold spore colonies establish themselves in your insulation and drywall, remediation costs can easily skyrocket.
- Higher Energy Bills: Wet fiberglass or cellulose insulation loses its R-value permanently. This forces your air conditioner to work twice as hard to keep your home cool.
- Fire Hazards: Water traveling along rafters can easily find its way into light fixtures, junction boxes, and ceiling fans, creating immediate electrical short circuits and fire hazards.
To understand the full scope of interior water damage, check out our guide on ceiling damage from leaking roofs as well as our resource on water damaged roof repair.
Frequently Asked Questions About Roof Leaks
Can I fix a roof leak from inside my house?
You can apply an interior patch (using roofing cement and a plywood backing block) as a temporary emergency stopgap to protect your ceiling, but this is never a permanent solution. Water will continue to penetrate the exterior roof deck, causing wood rot and mold behind your drywall. You must repair the leak from the outside to stop the damage. For a comprehensive look at long-term exterior fixes, read our ultimate guide to roof leak repair.
How long does a minor roof leak repair last?
A permanent repair—such as a properly nailed and sealed shingle replacement—will last for the remaining lifespan of your roof. However, temporary surface patches using standard roofing cement typically only last 1 to 3 years. The intense UV exposure in West Central Florida accelerates the breakdown of sealants, meaning temporary patches should be replaced with permanent solutions as soon as possible.
Will homeowners insurance cover a minor roof leak repair?
If your leak was caused by a sudden, accidental event—like a fallen tree limb during a storm or wind damage from a hurricane—it is typically covered by your homeowners policy. However, leaks caused by normal wear and tear, aging materials, or a lack of basic maintenance are excluded. Keep detailed documentation, photos, and records of professional inspections to support any claims. If you are dealing with severe storm damage, you can learn more about finding fast, reliable help in our article on emergency roof repair in Florida.
Conclusion
A successful minor roof leak repair is a great way for a weekend warrior to protect their home and save money. However, knowing your limits is key to home maintenance. If your roof is too steep, if you cannot find the source of the drip, or if you suspect structural wood rot, it is time to call in the professionals.
At Thunder Bay Home Solutions, we have spent years helping homeowners across Wesley Chapel, Land O’ Lakes, and Lutz navigate the unique challenges of Florida weather. Whether you need a quick repair, a comprehensive inspection, or a full system replacement, our licensed and insured team is here to help.
If you are ready to secure your roof against the next storm season, explore our professional roof repair services or contact us directly for your free, no-obligation roof estimate today!