Chimney Flashing Replacement 101: A Dry House is a Happy House
A Small Chimney Leak Can Become a Very Big Problem
Flashing repair around chimney joints is one of the most common — and most overlooked — roofing fixes a homeowner will ever need. The flashing is the thin metal barrier that seals the gap where your chimney meets your roof. When it fails, water finds a way in. And in Florida’s climate, with heavy rain, hurricane-force winds, and relentless UV exposure, that failure can happen faster than you’d expect. If you suspect a leak, contacting a professional for expert roofing services is the first step to protecting your home’s structural integrity.
Here’s a quick answer if you’re dealing with a leak right now:
How to repair flashing around a chimney (quick overview):
- Inspect the flashing for rust, cracks, gaps, or lifted edges
- Remove damaged sections and clean the surface with a wire brush
- Apply ice and water shield as a waterproof underlayer
- Install new base flashing at the chimney base
- Layer step flashing between each shingle course up the sides
- Embed counter flashing into the mortar joints above
- Seal all edges with roofing cement or a flexible sealant
- Test with a garden hose and check the interior for any remaining leaks
The tricky part? A small, ignored leak near the chimney can quietly rot your roof deck, ceiling joists, and interior walls — turning a $500 fix into a $5,000 renovation. Chimneys are, in fact, the most common source of roof leaks because they represent the largest penetration point in any roof system.
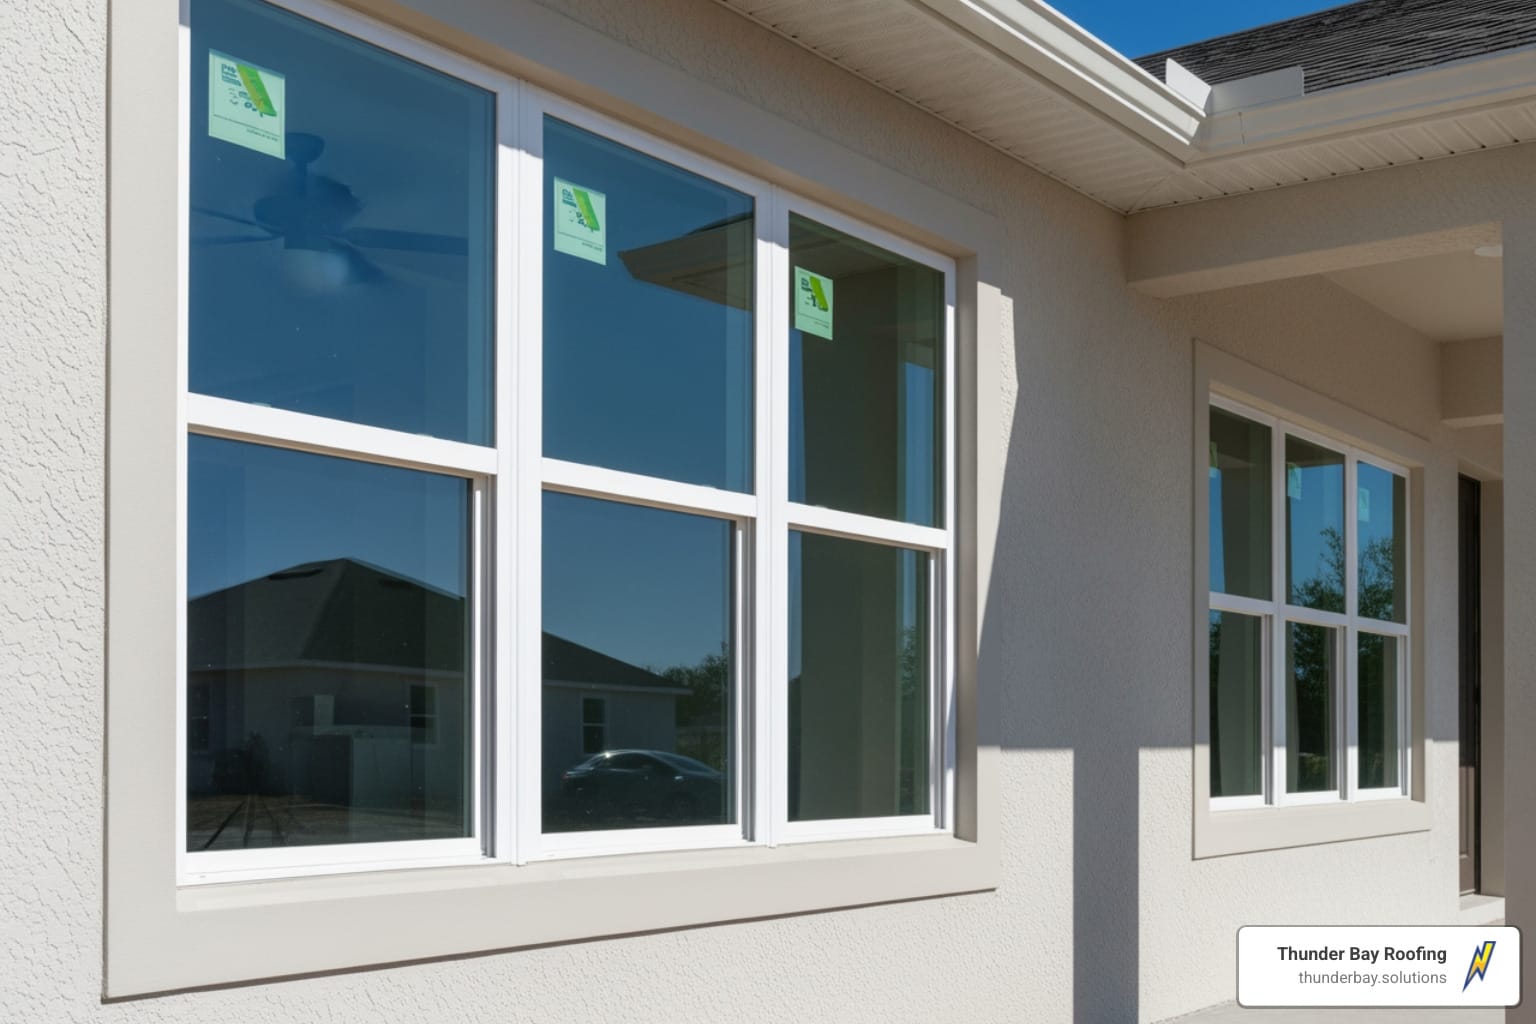
At Thunder Bay Roofing, we see this damage regularly across Wesley Chapel and the greater Tampa Bay area — often in homes where the flashing was either improperly installed from the start or simply aged out without anyone noticing.
I’m Tyler Wood, owner of Thunder Bay Roofing, and through years of hands-on roofing work in Florida’s demanding climate, flashing repair around chimney penetrations is one of the most critical repairs we address to keep homes truly watertight. Let’s walk through everything you need to know to understand the problem, make the right repair, and keep it from coming back.

Understanding the Anatomy of Chimney Flashing
To understand how to fix a leak, you first have to understand the “zipper” system that keeps water out. Chimney flashing isn’t just one piece of metal; it’s a multi-layered defense system. Because your chimney (made of heavy masonry) and your roof (a wood frame) move independently due to settling and temperature changes, the flashing must be flexible yet watertight. According to GAF, the largest roofing manufacturer in North America, proper flashing is essential for a complete, warrantied roofing system.
Here are the key components we look at during residential roofing inspections:
- Base Flashing (Apron Flashing): This is the piece installed at the very bottom (downslope) of the chimney. It sits on top of the shingles and wraps up the chimney face.
- Step Flashing: These are L-shaped metal pieces interwoven with each course of shingles along the sides of the chimney. According to the Ultimate Chimney Flashing Repair Guide 2026, these must overlap by at least two inches to direct water “downhill” effectively.
- Counter Flashing (Cap Flashing): This is the “lid” of the system. It is embedded into the chimney’s mortar joints and hangs down over the top of the step and base flashing.
- Saddle or Roof Cricket: If your chimney is wider than 30 inches, the International Building Code requires a “cricket.” This is a small peaked structure built behind the chimney to prevent water from pooling against the masonry.

Choosing the Right Materials for Flashing Repair Around Chimney
When we perform a flashing repair around chimney structures, the material choice determines if the fix lasts five years or fifty.
- Copper: The gold standard. It can last over 50 years and is highly resistant to the salt air we deal with in West Central Florida.
- Stainless Steel: Extremely durable and recommended by the Brick Industry Association at a minimum 0.01-inch thickness for maximum longevity.
- Aluminum: A popular, cost-effective choice that lasts 20–25 years. It’s easy to work with but can corrode if it comes into contact with wet mortar or certain treated woods.
- Galvanized Steel: We generally caution against this for long-term repairs. While cheap, the zinc coating can crack when the metal is bent, leading to rust within 15 years.
For those with metal roofing, we often use matching metal gauges to ensure thermal expansion happens at the same rate across the entire system. You can learn more about material lifespans from Chimney Savers.
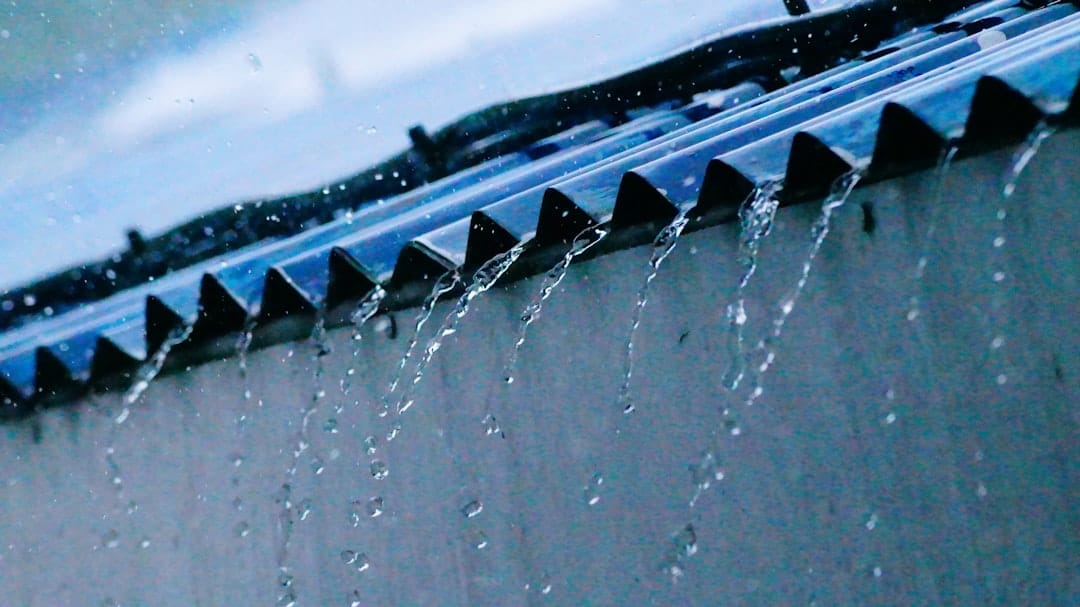
The Role of the Roof Cricket in Water Diversion
In Wesley Chapel, our summer thunderstorms dump inches of rain in minutes. If your chimney is wide (over 30 inches), that flat back wall acts like a dam. Water pools there, eventually finding a microscopic gap in the sealant.
A roof cricket is a mini-roof that diverts that water to the sides. Without one, you’ll likely face recurring leaks regardless of how much sealant you apply to your asphalt shingle roofing.
Signs You Need Flashing Repair Around Chimney
You don’t always need to climb onto the roof to know there’s a problem. In fact, by the time you see a drip, the damage has likely been happening for months.
- Water Stains on Ceilings: If you see brown rings on the ceiling or walls near the fireplace, your flashing has likely failed.
- Rust and Corrosion: Visible rust on the metal strips is a sign that the protective coating is gone.
- Crumbling Mortar: If the mortar where the counter flashing is tucked looks like sand, water is getting behind the metal.
- Dripping in the Firebox: Hearing a “plink, plink” sound inside your fireplace during a storm is a dead giveaway that water is bypassing the flue and flashing.
- Musty Odors: A persistent damp smell in the attic or near the chimney often points to mold growth caused by slow, hidden leaks.
If you suspect an issue, our roof leak detection team can pinpoint the entry point. This is especially important for storm damaged roofing where high winds may have lifted the metal edges.

Identifying Hidden Damage in the Attic
The scariest leaks are the ones you can’t see. We always recommend roof inspections that include an attic crawl. We look for:
- Rotted Wood: Soft spots in the roof deck or rafters around the chimney.
- Soggy Insulation: Wet insulation loses its R-value and becomes a breeding ground for Florida mold.
- Dark Streaks: Evidence of water running down the masonry.
Catching these issues early is vital, especially after hail damage repair or major wind events that can subtly shift flashing components.
Step-by-Step Guide to Flashing Repair Around Chimney
While we always recommend professional help for high or steep roofs, understanding the process helps you ensure the job is done right. A proper flashing repair around chimney areas follows a strict protocol to ensure it is watertight. Whether you are in Wesley Chapel or the surrounding Tampa Bay area, the steps remain the same for a quality fix.
1. Preparation and Debris Removal
First, we remove the old, failed flashing and any hardened roofing cement. We use a wire brush to clean the masonry so the new sealants can actually bond.
2. The Critical Barrier: Ice and Water Shield
Many DIY guides skip this, but it’s the most important step. We apply a self-adhering ice and water shield directly to the roof deck and up the chimney wall. This provides a secondary waterproof “skin” under the metal.
3. Installing Base and Step Flashing
We start at the bottom with the base flashing (the apron). Then, we work our way up the sides, layering one piece of step flashing for every shingle. This creates a “shingle effect” where water always flows over the next piece of metal, never under it.
4. Counter Flashing and Masonry Integration
For brick chimneys, we cut a “reglet” (a thin groove) into the mortar joint. The top edge of the counter flashing is tucked into this groove. This is far superior to simply nailing metal to the side of the brick and “caulking” the top. You can find more technical details on this process at DM Alcan Masonry.
If you are currently experiencing a major leak, you may need roof repair immediately to prevent structural failure.
Proper Sealing and Testing Procedures
Once the metal is in place, we use high-quality sealants like polysulphate or specialized lead sealants. Pro Tip: Never use standard window caulk; it won’t handle the heat of a Florida roof.
We always perform a “garden hose test.” We spray water at the chimney for 15 minutes while a technician stays in the attic to watch for moisture. This ensures the wind damage repair or flashing fix is actually 100% effective. As noted by Brickliners, testing is the only way to guarantee a “for good” fix.
Common Mistakes to Avoid During Flashing Repair Around Chimney
- Reusing Old Metal: Never reuse flashing. The old nail holes are just future leaks waiting to happen.
- Exposed Fasteners: Nails should be covered by the next layer of shingles or flashing. An exposed nail head is a leak waiting to happen.
- Relying on “Gunk”: If you see a chimney covered in thick black tar or buckets of caulk, it’s a “bodge” job. Flashing should be watertight because of how it’s layered, not because of how much glue is on it.
- Improper Clearance: Siding should stay at least one inch above the roofline to allow water to flow freely.
If your roof is currently wide open due to a DIY mistake, you may need emergency tarping to protect your home until a pro can arrive.
Cost Factors and Professional vs. DIY Considerations
Is it worth doing yourself? For a minor seal repair, maybe. But for a full replacement, the risks often outweigh the savings.
| Factor | DIY Repair | Professional Repair |
|---|---|---|
| Average Cost | $65 – $185 | $400 – $1,600 |
| Time Investment | 5 – 10 hours | 2 – 4 hours |
| Safety Risk | High (Falls, cuts) | Low (Licensed/Insured) |
| Lifespan | 1 – 5 years (typically) | 20 – 30 years |
| Warranty | None | Workmanship Warranty |

Factors that can push the cost toward the $2,000 range include very steep roof pitches, natural stone chimneys (which require more intricate metal work), or the need for a full roof replacement if the surrounding shingles are too brittle to work with. For business owners, we also offer commercial roofing services for large-scale chimney and ventilation flashing.
Frequently Asked Questions about Flashing Repair Around Chimney
How long does chimney flashing typically last?
Quality chimney flashing, like aluminum or steel, typically lasts 20 to 30 years. However, in Florida, the sealant around the edges may need maintenance every 5 to 7 years due to UV degradation. Copper can easily last over 50 years.
Can I use caulk or mortar to fix a leaking chimney?
Caulk is a “Band-Aid,” not a cure. Because roofs and chimneys move at different rates (thermal expansion), hard mortar or cheap caulk will eventually crack. You need a professional flashing repair around chimney joints that uses a layered metal system and flexible, high-grade sealants.
Is chimney flashing repair covered by homeowners insurance?
Generally, insurance covers “sudden and accidental” damage, like a tree limb hitting the chimney or hurricane winds ripping the metal off. It rarely covers gradual wear and tear or neglect. If your leak was caused by a storm, check out our guide on hurricane damage roof repair.
Conclusion
A dry house truly is a happy house. Your chimney is a beautiful feature of your home, but it’s also a giant hole in your roof that requires expert protection. Whether you’re in Wesley Chapel, Land O’ Lakes, or Lutz, don’t let a small flashing issue turn into a major structural headache.
At Thunder Bay Roofing, we specialize in Florida-proof solutions. We are licensed, insured, and deeply familiar with the specific challenges our weather poses to your roof-chimney junction. We don’t just “slap some caulk on it”—we rebuild the system to last for decades.
If you’ve noticed water stains, smelled something off in the attic, or just haven’t had your roof looked at in a few years, give us a call. We offer comprehensive roof repair services and free estimates to give you peace of mind.
Keep your home protected. Contact Thunder Bay Roofing today or visit us at our Wesley Chapel office at 7140 Quail Hollow Blvd.